Let’s turn this fabric and cardboard into gorgeous Christmas tree decor!

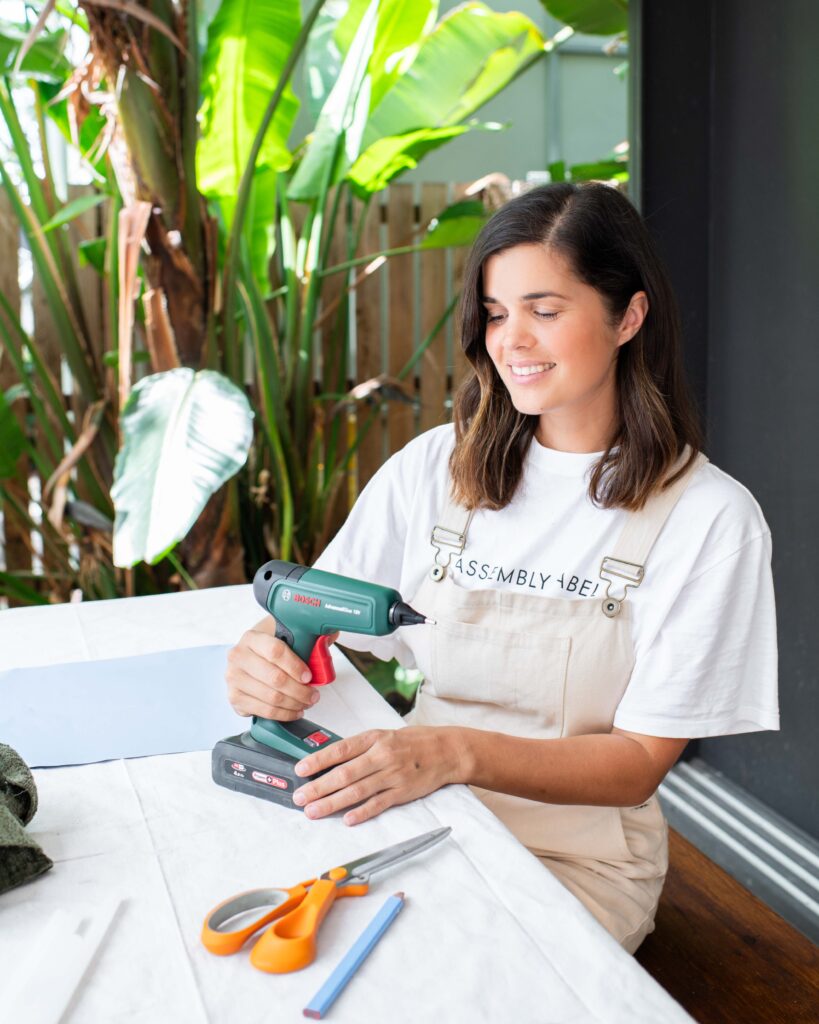
Hey, my name’s Geneva…
Christmas is my favourite time to get creative, and there’s nothing better than making a project out of salvaged items. I was able to make these sweet Christmas trees so easily using only card stock, velvet and the glue gun. I love how they turned out and they’re the perfect centrepiece for the table! You can make these in so many different colours and sizes to suit your Christmas theme.
HOW TO MAKE AN UPCYCLED VELVET CHRISTMAS TREE
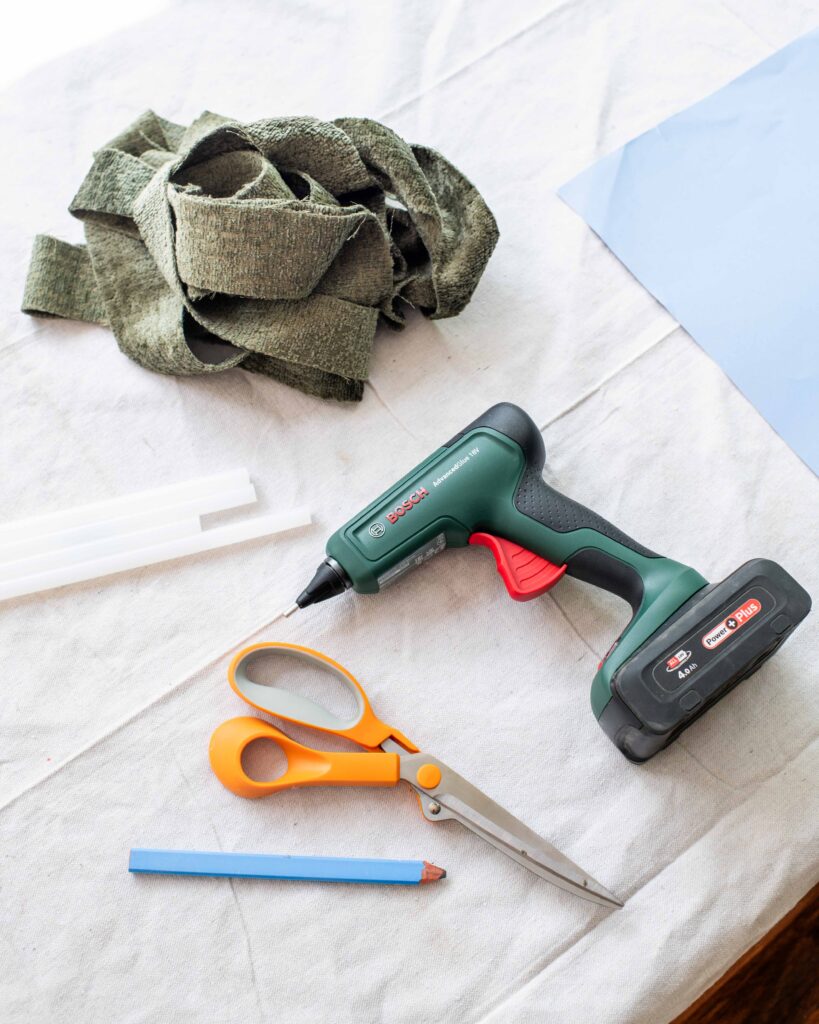
MATERIALS:
• Good quality glue gun (I used the Bosch Advanced glue 18V)
• Glue sticks
• Card stock
• Ruler
• Pen
• Velvet material (or material of your choice)
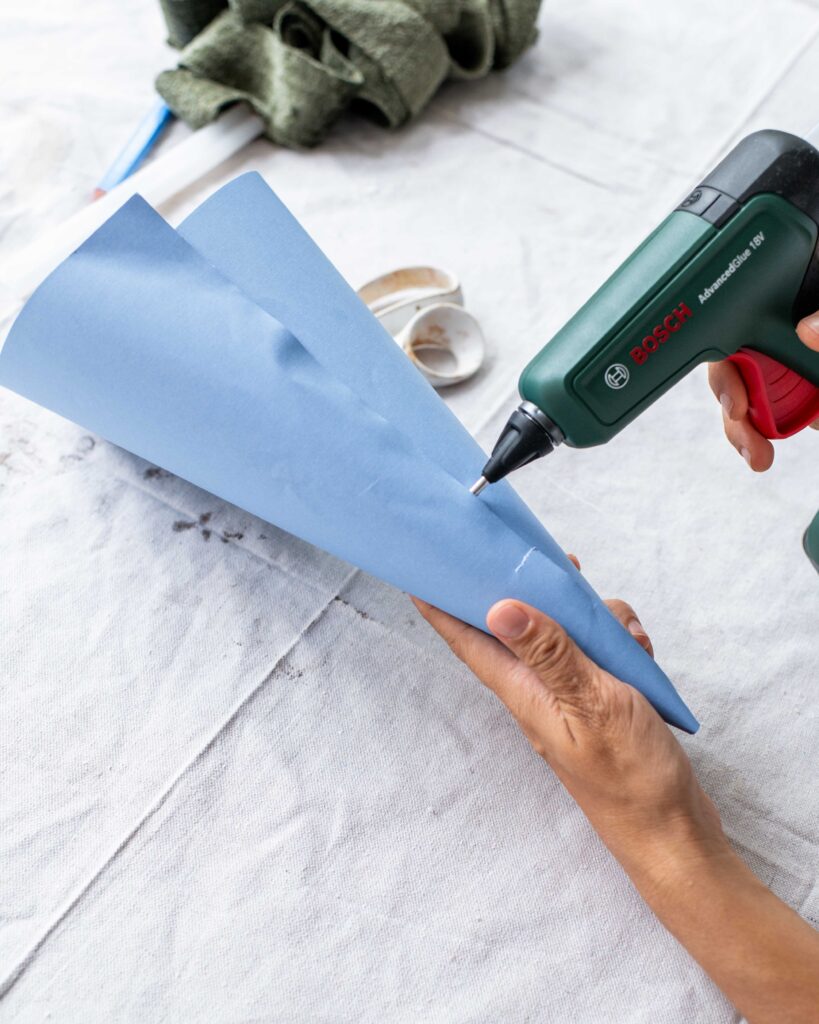
Step 1
Curl cardstock around to make a cone and glue the edge together.
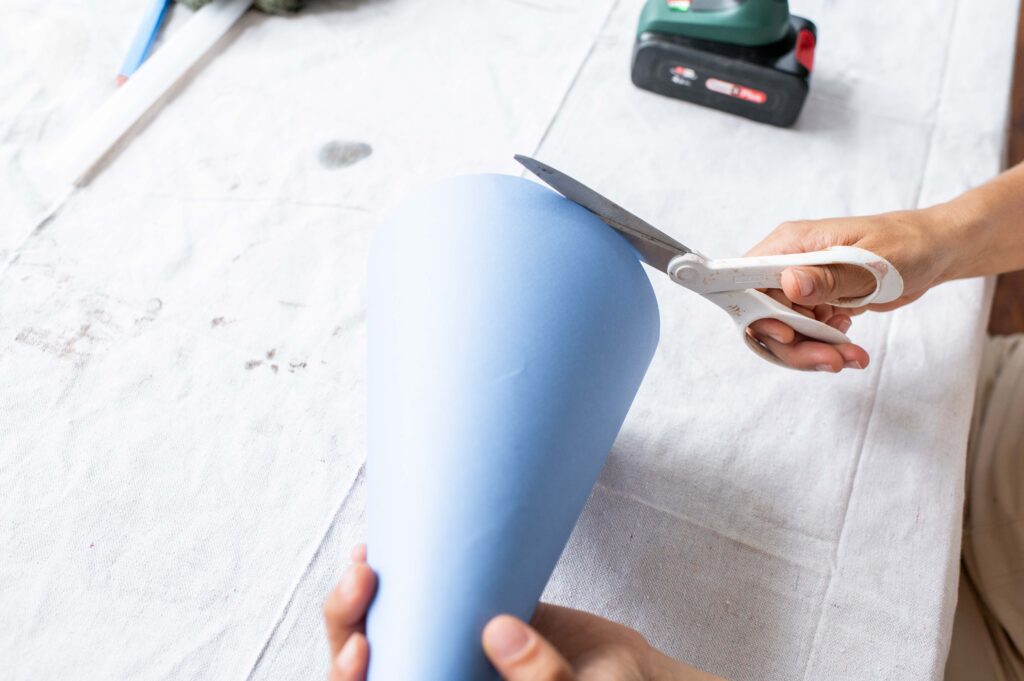
Step 2
Cut the leftover on the bottom to make it straight.

Step 3
Draw lines around the cone every 4cm.

Step 4
Cut the velvet into 5cm thick strips approximately 2m long (the length will depend on the size of the cone).

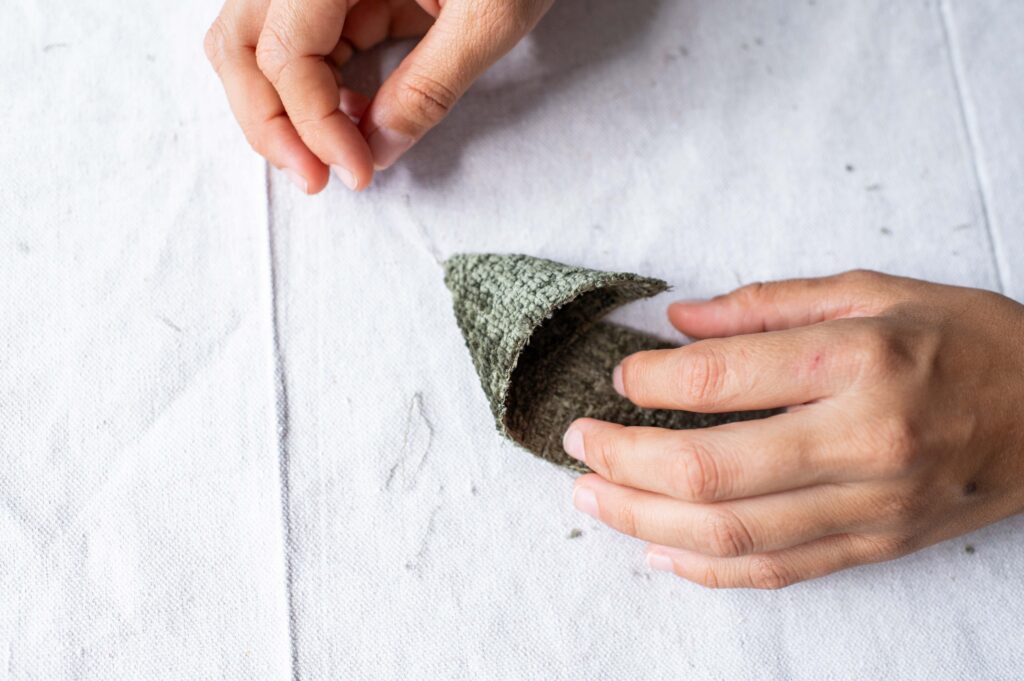
Step 5
Starting at the first line at the bottom – ensure you glue only along the top of the strip the whole time – glue down the start of the velvet strip (5cm), and fold a piece back over itself (5cm), glueing it down.
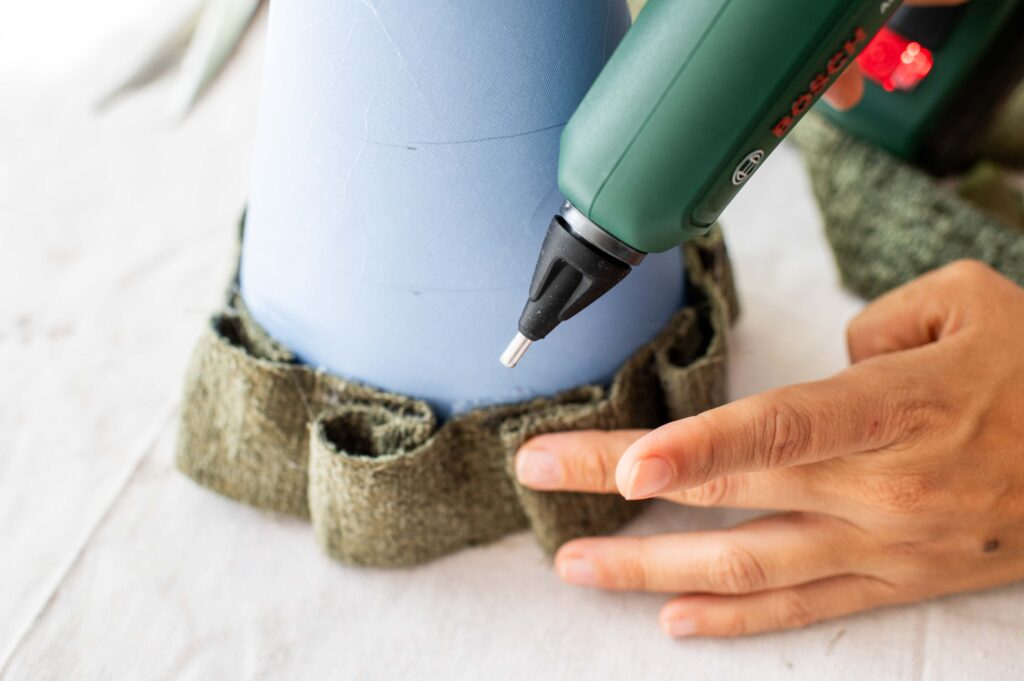
Step 6
Extend that length out and glue down another 5cm next to the first fold then repeat by folding back 5cm over itself (You can do a smaller or bigger fold than 5cm if you have a smaller or bigger cone). Continue all the way around the cone until you meet where you started, cut your strip and then tuck the end under the first fold.

Step 7
Start the next strip at the next line, ensuring there is an overhang over the first strip. Repeat steps all the way up the cone until you reach as close to the top point as possible.
Step 8
Create a small cone with a strip of velvet by glueing it to itself.
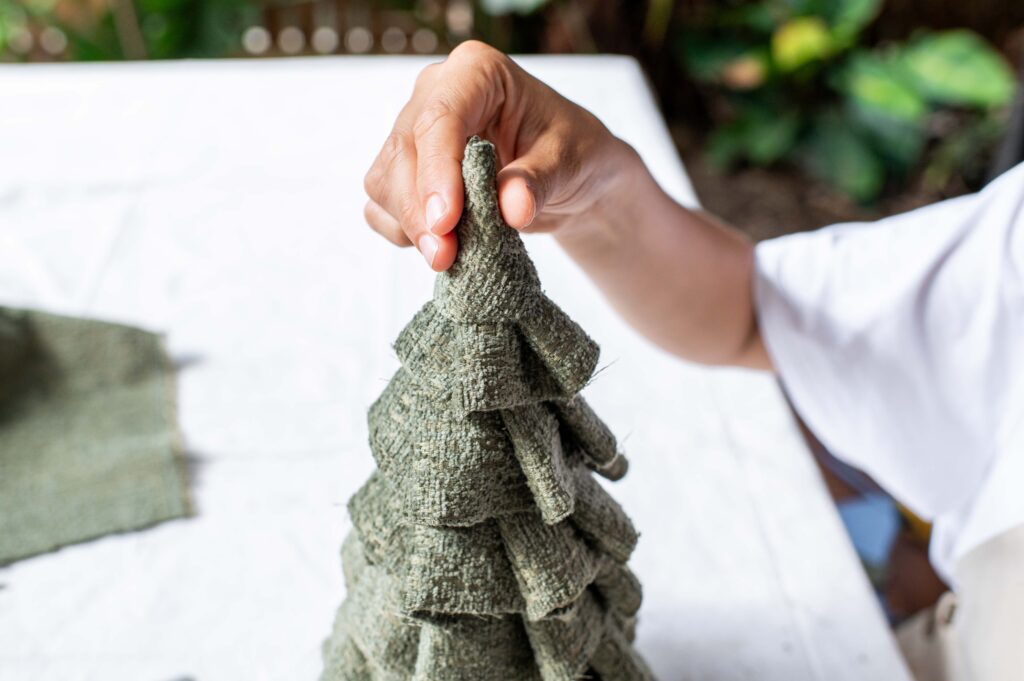
Final Step
Trim the bottom of the cone so it’s straight and glue the small velvet cone over the top point.
Follow Geneva here:
Facebook | @collectivegen
Tiktok | @genevavanderzeil
Instagram | @genevavanderzeil
Pinterest | @collectivegen
Geneva’s DIY School – courses available here.