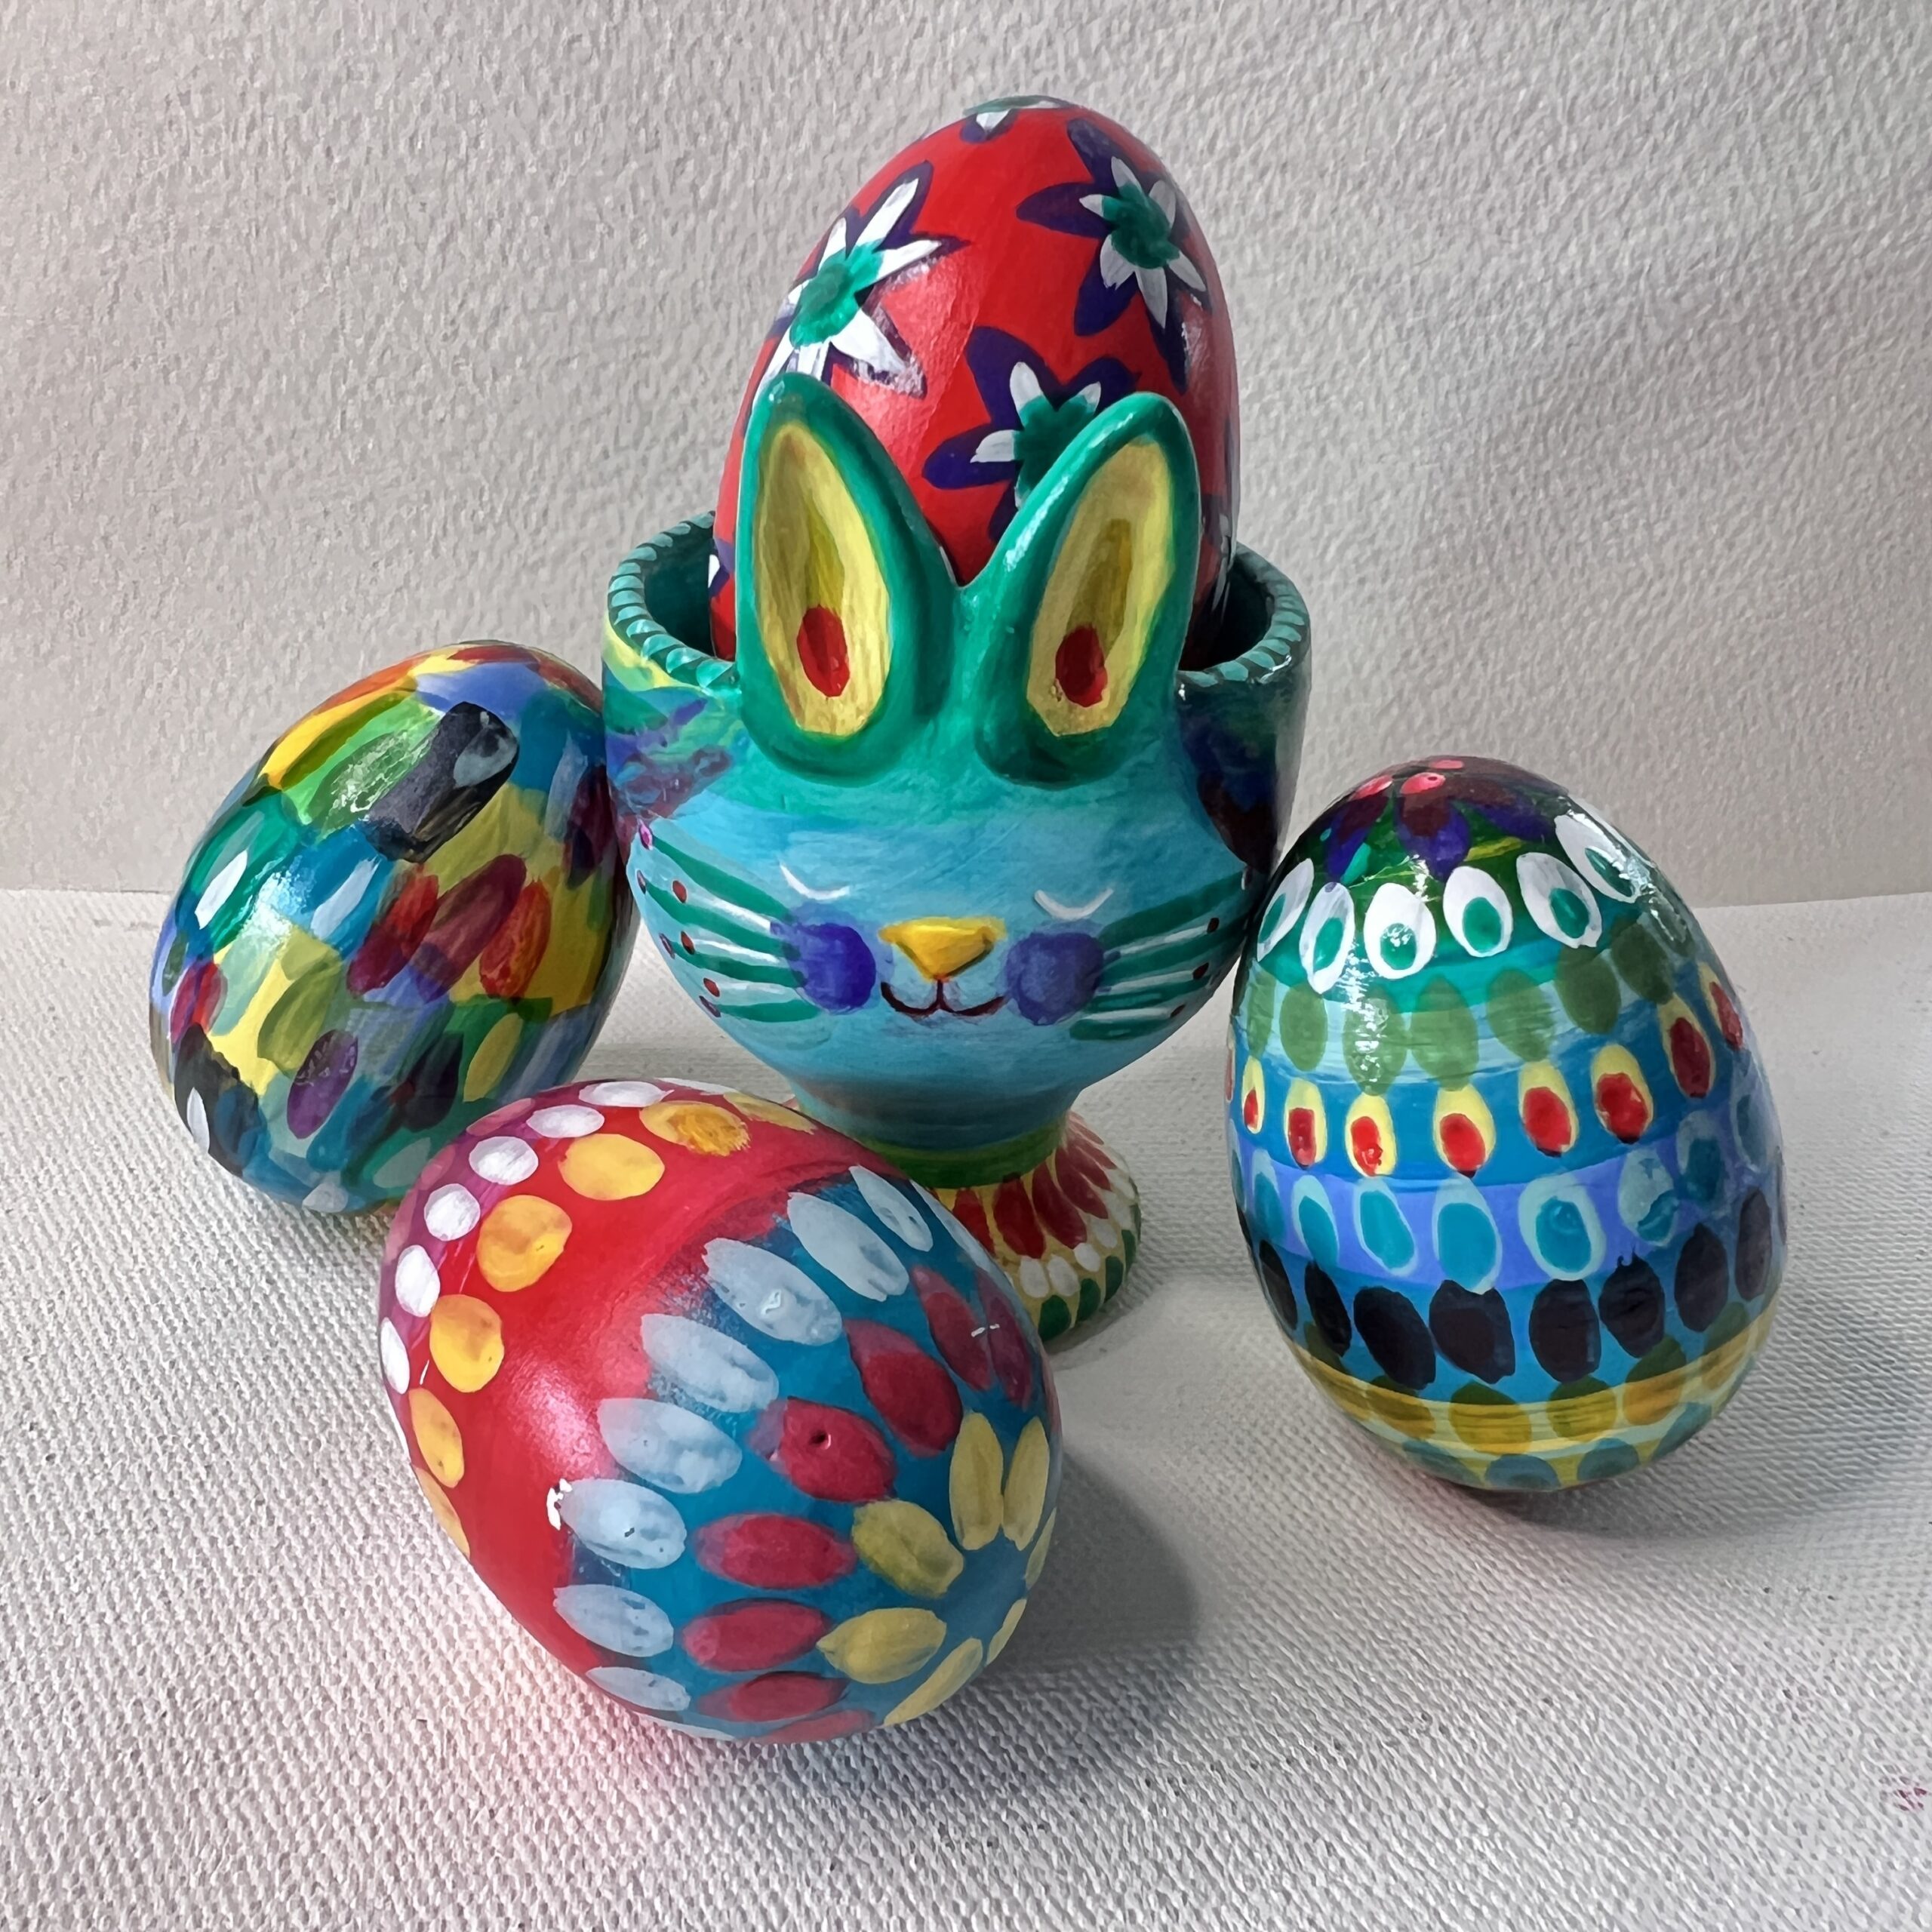

Create beautiful hand-painted ceramic Easter eggs to brighten up your Easter décor, gift to loved ones, or turn into keepsakes you’ll treasure for years. This colourful, joyful project is perfect for creatives of all ages—no kiln required!
Difficulty: Easy
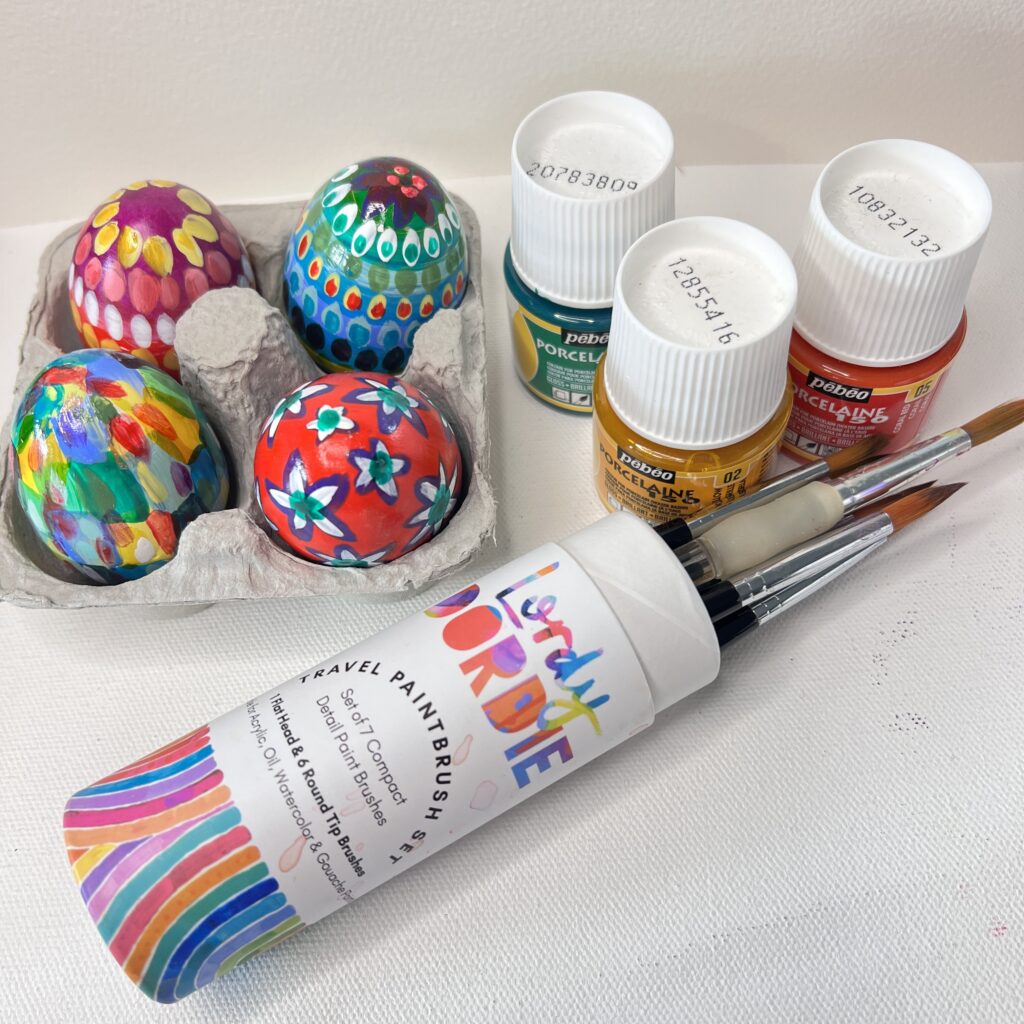
Materials
- A pack of ceramic Easter eggs
- Porcelaine paints (your choice of colours)
- Fine paintbrushes (or paint pens if you prefer finer control)
- A paint palette or small plate
- Cup of water for rinsing brushes
- Paper towel or cloth for dabbing excess paint
- Oven (for setting the paint permanently)
- Optional: washi tape or stickers for masking, paint pens for detail, ribbon or string for hanging
Instructions
Step 1: Prepare Your Workspace
- Cover your surface with paper or an old cloth
- Arrange your ceramic eggs, paints, brushes, and a small cup of water for easy access
- Shake your Porcelaine paint bottles well before opening
Step 2: Paint Your Base Colour
- Start by painting your base colours directly onto the ceramic eggs
- You can hold the egg in one hand and paint with the other, or sit the egg in an empty egg carton or a small cup to stabilise it
- Let the base layer dry before adding additional details to avoid smudging
Step 3: Add Decorative Details
- Use fine brushes or paint pens to add patterns, florals, spots, or lettering
- Wash your brush between colours and pat it dry on paper towel
- Want clean lines? Try masking with washi tape for stripes or geometric shapes
- Keep layering until you’re happy with the design—have fun and get playful with colour! 🎨
Step 4: Dry & Cure The Paint
- Let your painted eggs air dry for 24 hours
- Then, place them in a cold oven (this is important to avoid cracking)
- Baking Time: once the temperature reaches 150°C, bake for 30-35 minutes (or follow the the instructions on the packet)
- Once finished, turn the oven off and allow the eggs cool completely before removing.
Step 5: Display or Gift Your Easter Eggs
- Tie ribbon or string through the top holes if you’d like to hang them
- Pop them in gift boxes, decorate your Easter table, or display them in a pretty bowl or nest
- These make gorgeous keepsakes and thoughtful handmade gifts for family and friends
Thank you Georgie Forbes for the tutorial!
Georgie Forbes, aka Lordy Dordie, is a colour-loving artist and surface pattern designer who happily creates in her sunny studio in Brisbane, Australia. Georgie’s designs are jam-packed with a contrasting and harmonious blend of vibrant colours, joyful subjects, and playful patterns while being quite detailed with an added twist of fun. Georgie’s creative spirit thrives on pushing colour boundaries, whether it’s a serene landscape, a captivating still life, or a playful abstraction, each subject offers an opportunity to unleash her imagination and create art that resonates with joy and positivity. Georgie’s art is all about spreading positivity and boosting moods, something which she strives for when creating her joyful designs. She loves having hand-painted Christmas ornaments on her tree, as they add a delightful and personal touch. Each ornament brings unique charm, making holiday decorations even more special and meaningful. They also make wonderful, heartfelt gifts for family and friends during the festive season.